

 Get in touch right away
{{ name }}
Article no. {{ combinedCodeWithHighlight }}
Article code:
As a workshop master, cutting materials is something you deal with every single day. But what does that mean exactly? What methods are we referring to when we speak of cutting? In simple terms, cutting refers to any change in a solid body’s shape brought about by severing local cohesion. By definition, cutting is considered a production method. We can further sort the process, for example into methods that do or don’t produce chips. On terms of the tools used, we can classify further, for example cutting chips with geometrically defined blades (drills, saws) or cutting chips with geometrically undefined blades (grinding, brushing).
As an experienced metalworker, you’re familiar with just how complex these production methods are. Not surprisingly, entire compendiums of rules are necessary to list all of the details, such as DIN 8588 (severing) or DIN 8591 (disassembling). Stay with us to gain some practical know-how for your workshop jobs without having to plough through musty tomes! The following pages will fill you in on everything you need to know about cutting, how to best go about your work and where the greatest dangers lie.

In everyday situations, and that probably includes your workshop, the applicable standards are available for reference and tools are sorted by the commonly used methods. With the right tools, you can process almost any material in everyday industrial jobs. To make sure your cutting literally goes smoothly, you can either:
Also, no workshop that processes metals can get by without tools for material-removal methods:
A point of note: Thermal cutting methods, for example flame cutting or arc cutting, are also considered material-removal methods. Perhaps this kind of equipment is common at your workshop, too.

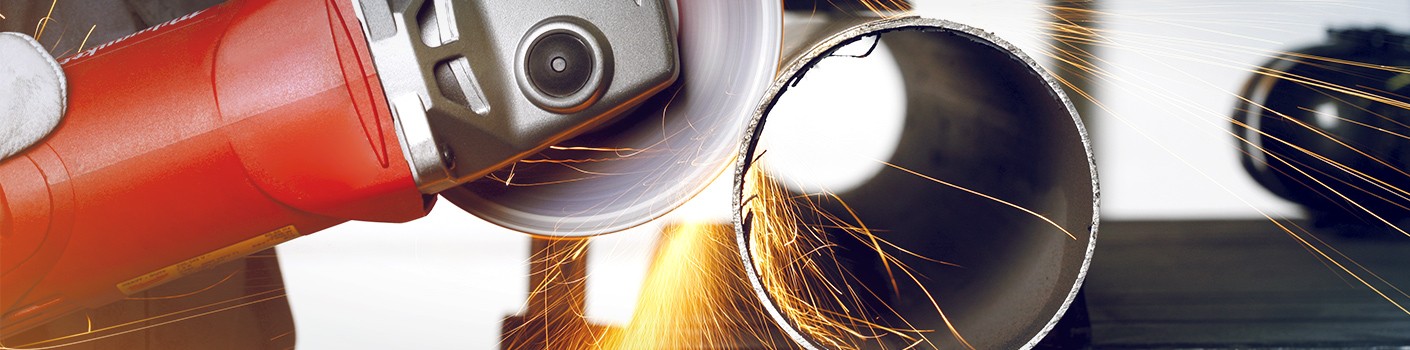
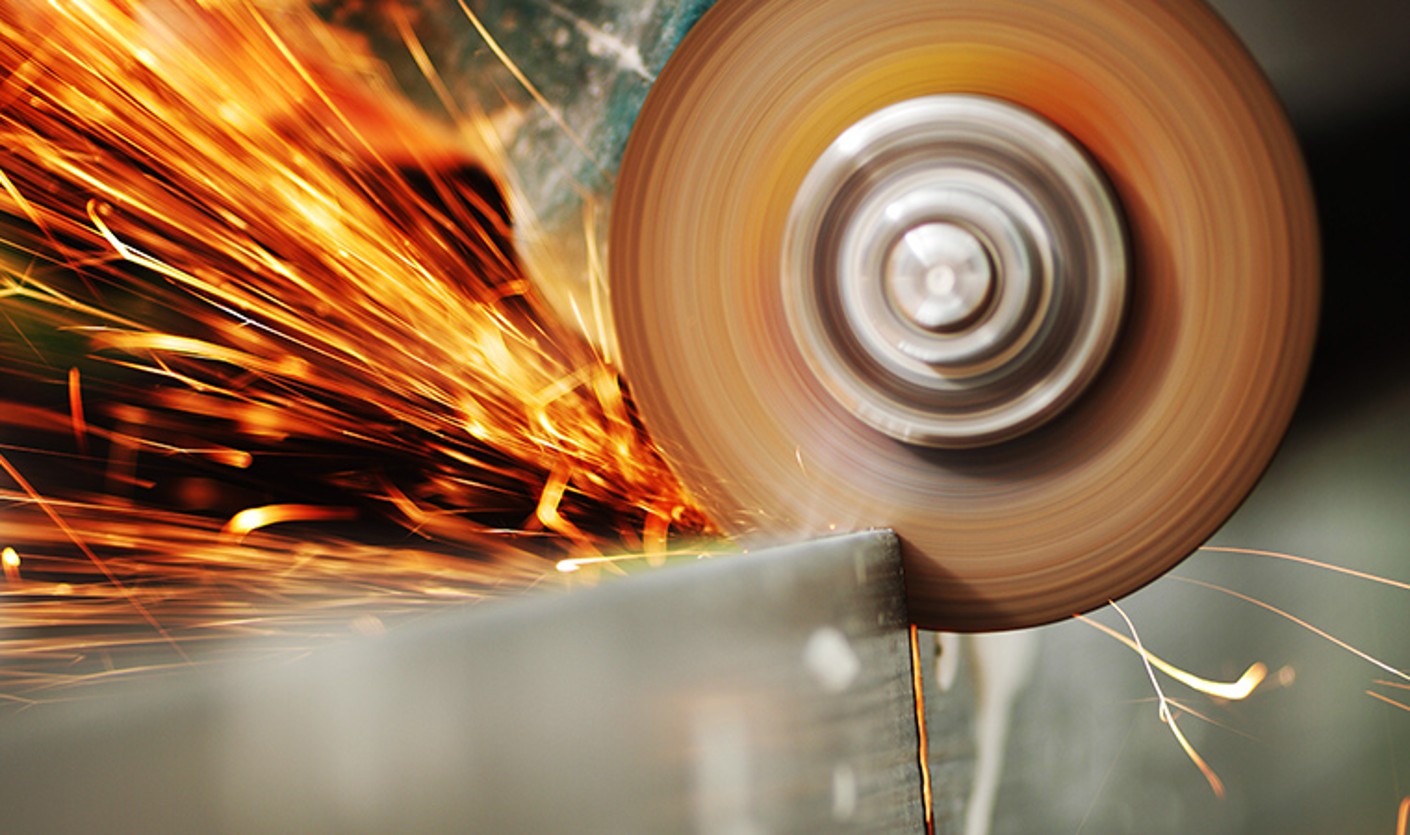
At your workshop, to get a fast, clean cut, you’ll likely use different saws or cutting discs to match the job and material. The two cutting tools are quite unalike in their properties: where saws possess a toothed metal blade, cutting discs feature abrasive grit cast and held in artificial resin. When using a saw – manual or powered, regardless – sawing speed needs to be slower the harder the sawed material. You probably know what it’s like when a metal saw meets its limits in metal cutting.
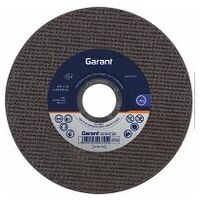
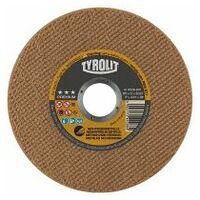
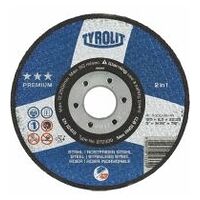
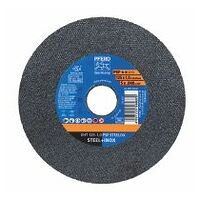
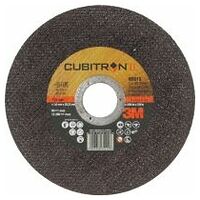
Because they are untoothed by design, cutting discs will allow you to work with far higher speeds. They also offer the benefit of long tool life and a much reduced tendency to leave burrs. The cutting disc best suited to your workplace depends on your industry sector, what materials you work on occasionally or regularly and on these materials’ specific properties. Any well-equipped workshop should keep these cutting tools on hand to remain flexible and allow for cutting any imaginable workpiece precisely, efficiently and cleanly:
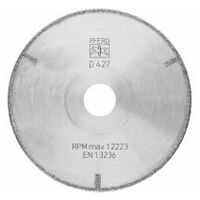
Classic cutting discs made with artificial resin are good for working on metals. Diamond discs are excellent for use on natural stone or stonework as well as for glass or fibre-reinforced plastics (GRP/CRP).
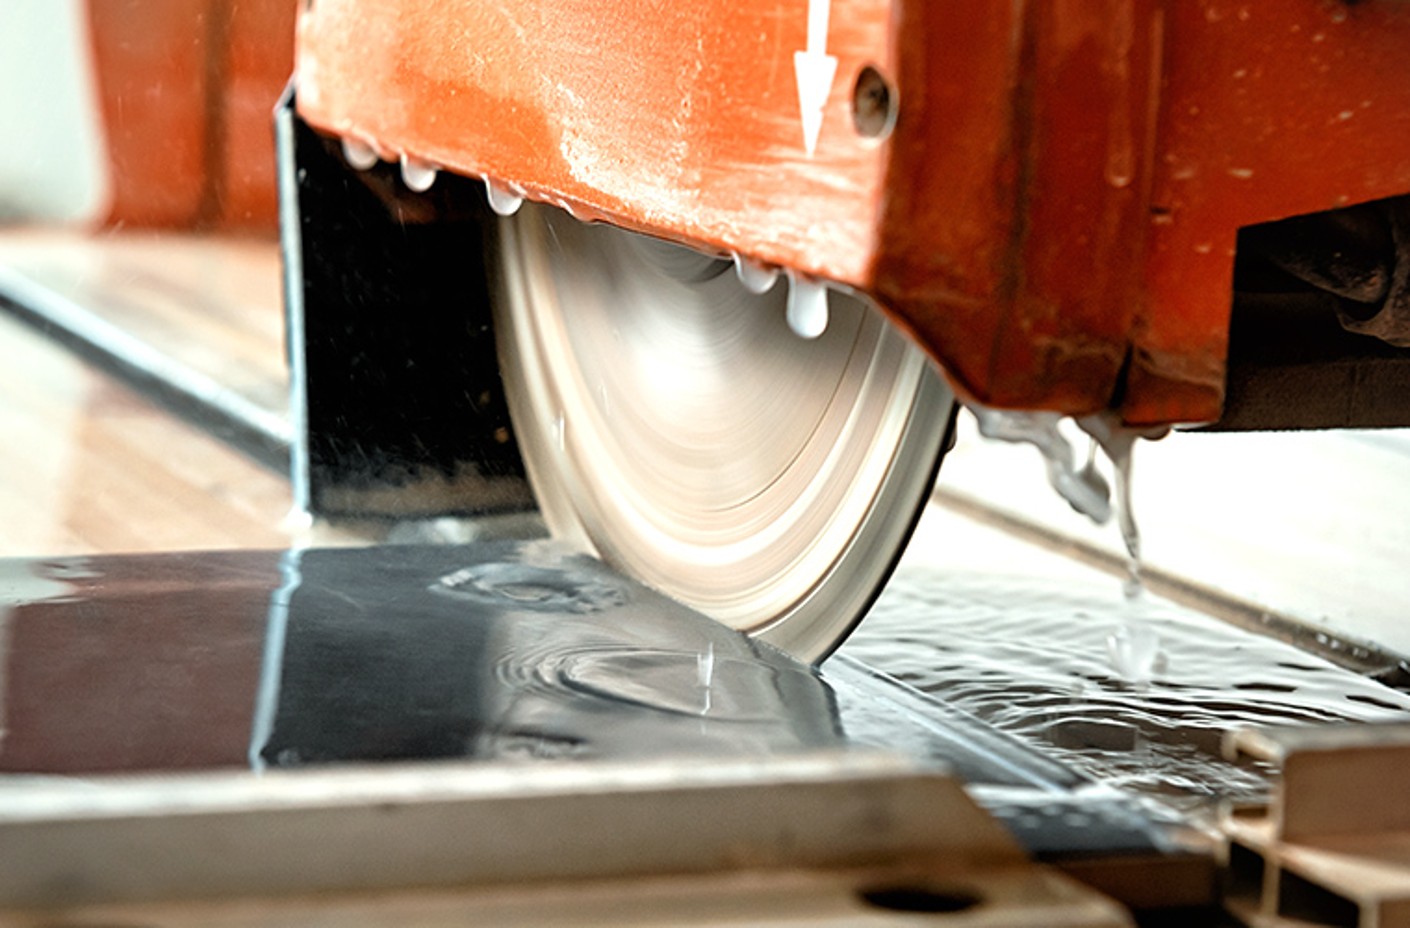
When metalworkers need an efficient but also gentle cutting method, fluid-cooled cutting offers workable solution for a variety of metals. Fluid-cooled cutting employs a cutting disc comprising grinding media and binder. A continuous feed of coolant washing over it prevents friction heat from damaging the material. The coolant also washes particles and swarf off the cut area.
To achieve the best-possible quality when cutting your materials and to get those cuts just perfect, you’ll need to keep an eye on the key parameters: cutting tool properties – think stationary or mobile – the clamping mechanisms, the cutting disc itself and the fluid used as coolant. Your choice of whether to use a stationary cutting unit or, for example, an angle grinder will depend on the size of the workpiece.
Tip: Always make sure the cutting chamber is large enough for the workpiece. You’ll always need enough space to fit the entire diameter of the cutting disc.
Tip: EN 60745-2-3 IEC and EN 62841-2-3 specify use of a full-size protective guard when cutting. When using bonded grinding wheels for cutting work, a protective guard covering both sides should attached.
For optimal results and highest quality using cutting discs, you should always run a preliminary test on the material in question and check for the following:

Once you’re satisfied with the test results, you can move straight on to working on the ‘real’ workpiece.
1. Mark the cutting edge on your workpiece.
2. Clamp your workpiece in a securely fastened fixture, for example a vice or screw clamp. Tip: Note the type of material. On some metals, you’ll need to use a plastic or wooden cover to protect the surface from damage. Clamping beams or pipes too loosely, on the other hand, will result in vibrations and rapid tool wear.
3. Make sure that your workspace is safe and put on your personal protective equipment.
4. Install the cutting disc and check that it is firmly fastened.
5. When working with an angle grinder, get into a position in front of the workpiece that affords you a clear view.
6. Tip: Less is more: in terms of feed rate, start slowly and edge forwards with slight back-and-forth motions. Make sure that the disc does not jam.
7. Perform your cut steadily and evenly without sudden movements.
8. If necessary, follow up by grinding down any burrs with a power tool and grinding disc or manually using a file.
For the finishing touches after cutting, use flap wheels, fibre discs and coarse cleaning discs, for example. Alternatively, there are also non-woven grinding discs, hook-and-loop grinding discs or matting belts, rollers or brushes. For more about each of these applications, refer to the respective pages.

You’re working on a certain material for the first time and aren’t entirely sure what cutting disc you should be using? Is the size or shape of your workpiece proving particularly challenging? Our experts will be delighted to advise you!